
This article is part 3 of 3 part series:
- Single Sign-On Using SAML
- Single sign-On Using Active Directory
- Single sign-On Using OpenID Connect
Quick links
Introduction
Single sign-on has become a web standard, allowing users to log in to multiple applications using a single set of credentials.
In this article we will use Azure Active Directory as the idP (Identity Provider) to authorize our native users to see certain Opensearch dashboards without having to maintain two different user lists, or manage multiple dedicated Opensearch sets of credentials.
- User logs in with Azure AD credentials.
- Depending on the user group, different role mappings with be applied.
- Each AD group will be mapped to an Opensearch role with specific permissions.
- Authorized Dashboards are returned to users.
How to implement Single Sign-On (SSO) using Azure Active Directory as idP
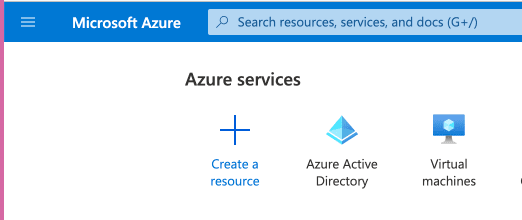
1. Go to https://portal.azure.com/ and select Azure Active Directory
2. Create a new Enterprise Application
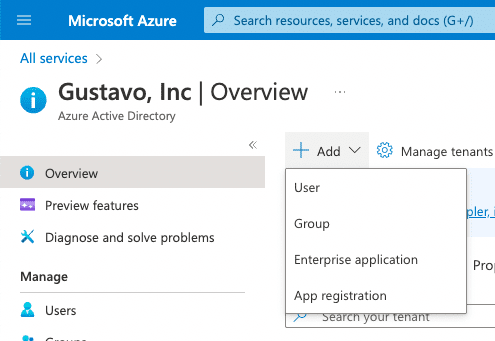
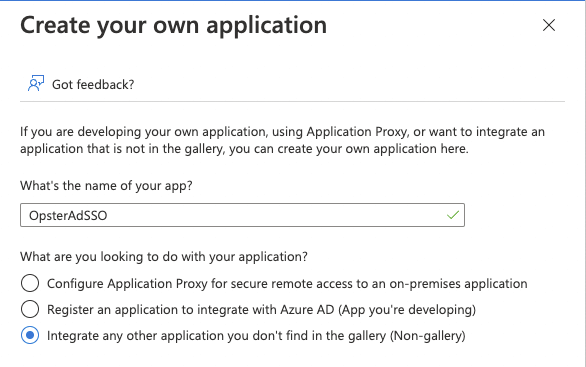
Select “Create your own application”.
3. Add users to the application
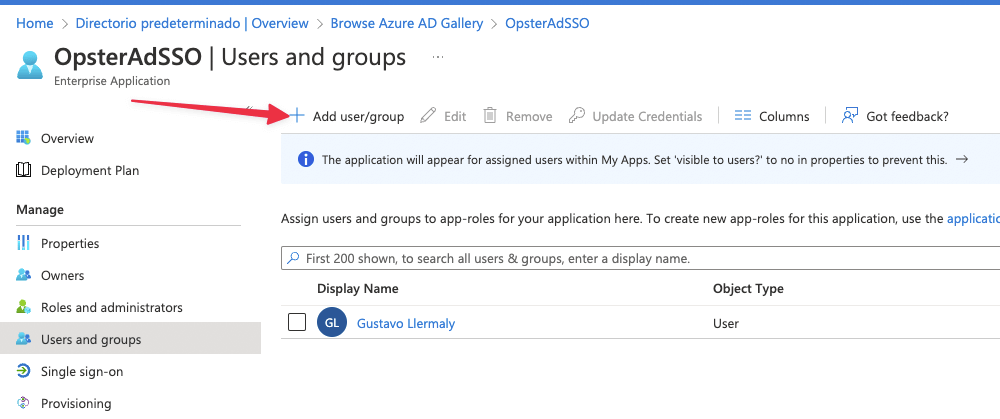
After adding a user you should see them in the list, just like in the screenshot above.
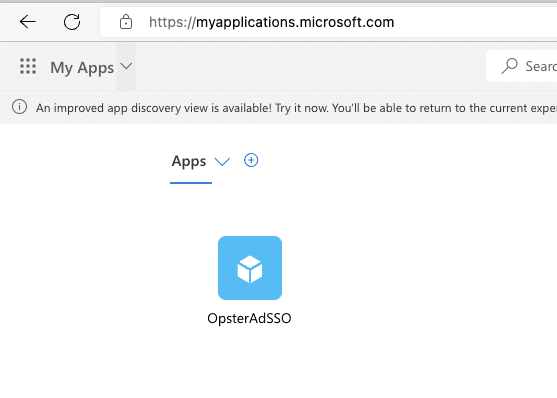
You should now see the application in https://myapplications.microsoft.com/:
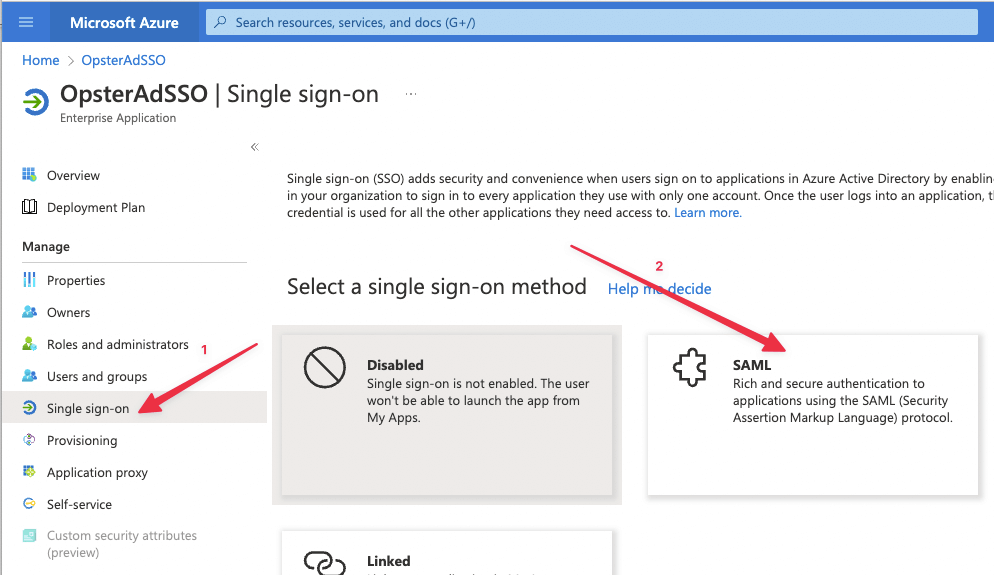
4. Configure Single sign-on (SSO) and gather SAML metadata
Go to Single sign-on and select SAML:
Go to Edit Configuration:
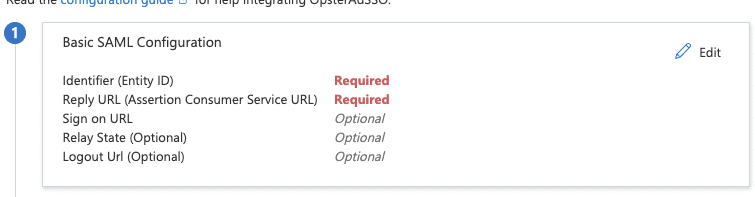
Fill in with the following:
Basic SAML Configuration
Identifier (Entity ID) opster-ad-sso
Reply URL (Assertion Consumer Service URL) https://<dashboards_url>/_opendistro/_security/saml/acs
Sign on URL https://<dashboards_url>/_dashboards
Relay State (Optional) Empty
Logout URL (Optional) Empty
Important: There is a bug related to acs endpoints in OpenSearch 2.1which was fixed in version 2.3. Version 2.3 still uses legacy _opendistro endpoints, however, future versions will use the new _plugin endpoints.
Follow bug status here.
Add the following for the Opensearch configuration:
5. Enable SAML SSO in OpenSearch
Users will need to modify 2 files:
/usr/share/opensearch/config/opensearch-security/config.yml
_meta:
type: "config"
config_version: 2
config:
dynamic:
authc:
saml_auth_domain:
http_enabled: true
transport_enabled: false
order: 1
http_authenticator:
type: saml
challenge: true
config:
idp:
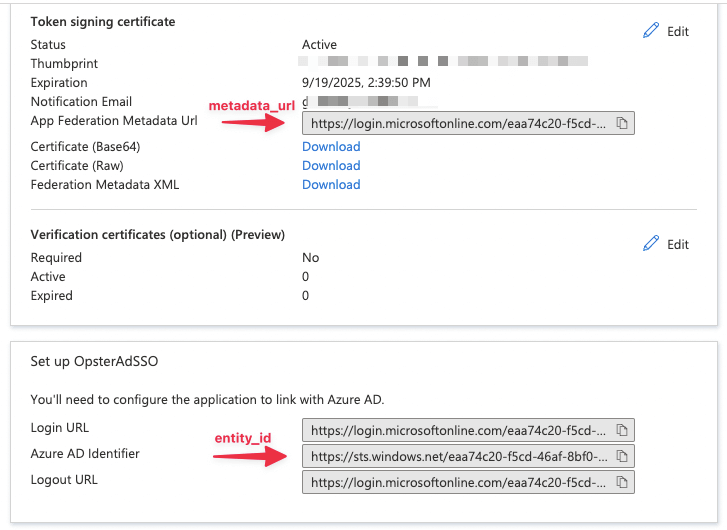
metadata_url: https://login.microsoftonline.com/eaa74c20-f5cd-46af-8bf0-f051033d302a/federationmetadata/2007-06/<id_gathered_from_azure>
#SAML's metadata url, provided by your IdP
Entity_id: https://sts.windows.net/<your_app_id>/
#SAML's IdP entity ID, provided by your IdP
sp:
entity_id: opster-ad-sso
kibana_url: <your_dashboards_url>/
roles_key: Roles
exchange_key: "<HMAC256 generated string>"
authentication_backend:
type: noop
basic_internal_auth_domain:
description: "Authenticate via HTTP Basic against internal users database"
http_enabled: true
transport_enabled: true
order: 0
http_authenticator:
type: basic
challenge: false
authentication_backend:
type: internFrom here, users can use what they’ve gathered so far.
SAML, unlike other protocols, is not meant to be used during user credential exchanges with each request. The security plugin trades the SAML response for a lightweight JSON web token that stores validated user attributes. This token (exchange_key) is signed by an exchange key that users can choose freely. Please note that when this key is changed, all tokens signed with it become invalid immediately. These must also be an HMAC256 string and 32 characters max.
To generate one users can go to Free HMAC-SHA256 Online Generator Tool | Devglan and assign it to the exchange_key.
It is important to also have basic auth enabled because SAML only works for dashboards, authentication for OpenSearch API calls are still needed.
/usr/share/opensearch-dashboards/config/opensearch_dashboards.yml
For Dashboards to be able to use SAML SSO, users must add the following to theiropensearch_dashboards.yml file
opensearch_security.auth.type: "saml" server.xsrf.allowlist: ["/_plugins/_security/saml/acs/idpinitiated", "/_plugins/_security/saml/acs", "/_plugins/_security/saml/logout", "/_opendistro/_security/saml/acs"]
This will enable SAML and whitelist the SAML endpoints.
6. Apply settings
To apply settings users must:
a) Apply changes with securityadmin.sh – OpenSearch documentation
Example:
Cd to the /usr/share/opensearch/plugins/opensearch-security/tools directory and run:
./securityadmin.sh -cd ../../../config/opensearch-security/ -icl -nhnv -cacert ../../../config/root-ca.pem -cert ../../../config/kirk.pem -key ../../../config/kirk-key.pem
b) Restart OpenSearch
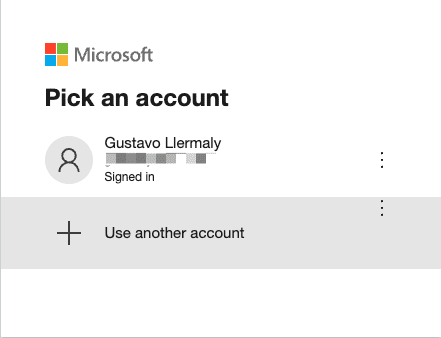
Now when users access theOpenSearch Dashboards URL, they will see the Azure AD Login page.
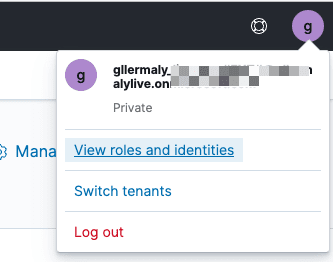
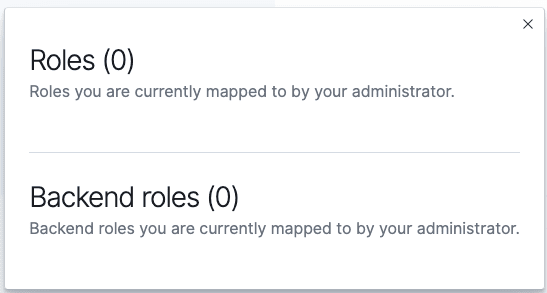
After login, users should see their username, and no roles assigned under “roles and identities.”
Copy the username.
Now add roles to this particular user via roles mapping API. In this example we will grant our recently created user the “all_access” role mapping.
curl -k --location --request PUT 'https://admin:admin@localhost:9200/_plugins/_security/api/rolesmapping/all_access' \
--header 'Content-Type: application/json' \
--data-raw '{
"backend_roles" : ["admin"],
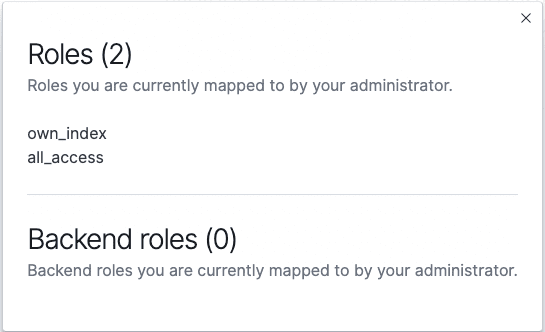
"users" : ["user_name_you_copied"]
}'Upon checking again, you should see that the user has roles assigned:
Conclusion
Setting up SSO in OpenSearch allows the user to have the same users and permissions across applications hassle-free. Once users define their AD Groups, they can map these Groups into existent OpenSearch roles.