Opsgenie integration consists of 2 parts:
1. Opsgenie configuration
2. AutoOps configuration
Opsgenie Configuration
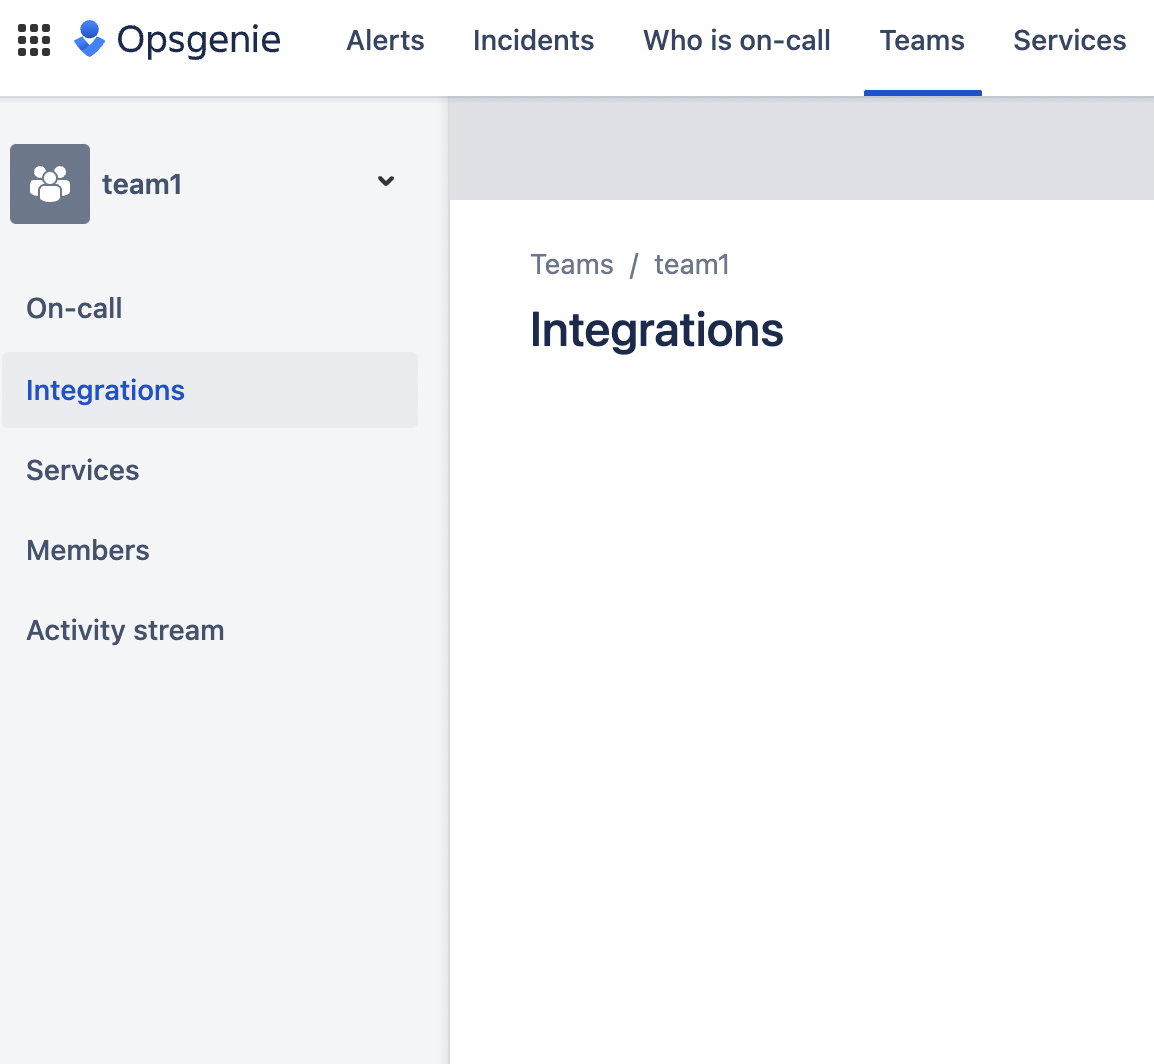
- Open the main page of your Opsgenie account. Click the “Teams” tab (a team must be defined).
- From your Opsgenie “Settings” tab, select “Integrations”. Select your defined “Team” and click “Integrations”, located on the left panel.
- Click “Add Integration”. On the “Integration List”, search for “API”.
- Name your integration and click the “Save” button.

AutoOps Configuration
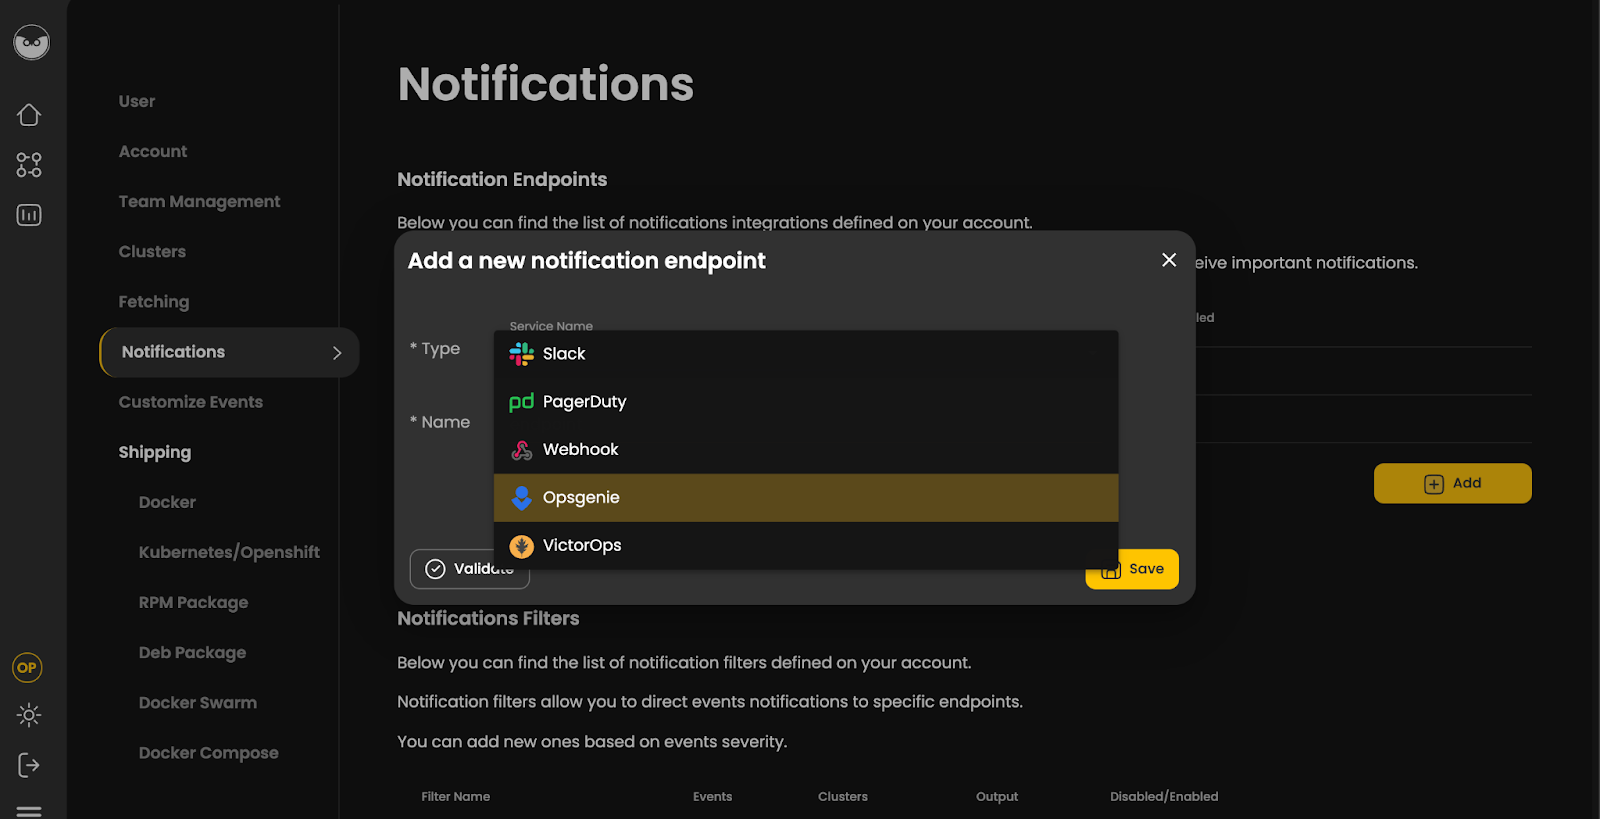
- Open AutoOps and go to “User Profile”. Then, select “Notifications”.
- Click the “Add” button and select “Opsgenie” from the dropdown.
- Name your endpoint and add Api Key from opsgenie API configuration. Click the validate button to see that your notification setting is working. Don’t forget to save your notification endpoint!
- To receive notifications on Opsgenie, you need to add a notification filter. Scroll down the “Notification” page and click the “Add” button.
- Fill in the filter details.
- Select events that should be sent to this output.